Contact Us
Phone: +86 736 6666811
Email: digitizing@lovedigitizing.com info@lovedigitizing.com
Payment Method

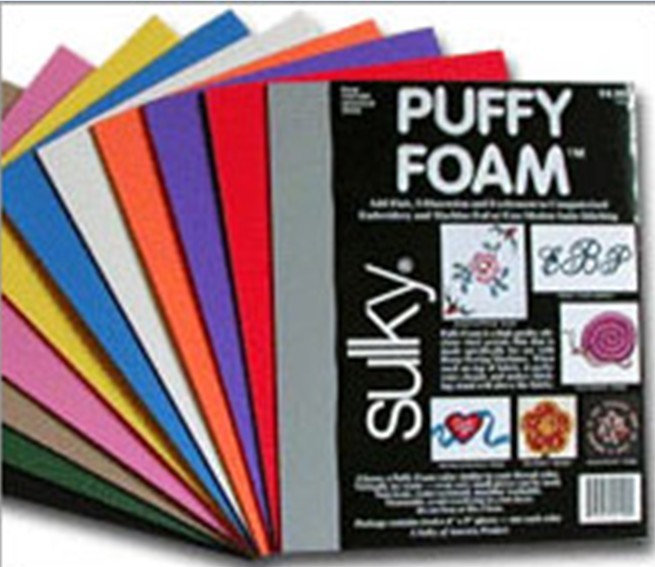
Tips For Using Puffy Foam
Take Your Embroidery to New Heights
Almost any design can take on new life when you add some dimension by using foam beneath the design. It is sold in many colors, so that you can match your thread color to the foam color. This is helpful in case any of the foam happens to peek through.
To begin, select a design that has enclosed areas. Look for enclosed satin shapes, such as circles, or shapes that taper to point. Be sure that the designs you select have satin stitch areas that are wide enough to accommodate the foam.
There are two ways to make foam become so perforated that it is very easy to remove, and also assure that the foam is encased under the satin stitches.

If you have the ability in your embroidery software to control your stitch density, increase the density of the underlay stitches so that they are closer together, and then place a heavy layer of satin stitches on top. The density on the top layer should be almost double the normal density.
If you don't have the ability to adjust your density values, you will simply stitch the satin areas twice. In either case, follow this procedure.
Stitch any fill stitch areas that precede the satin areas that you want to puff. Before the satin areas are stitched, lay down a piece of foam in the area to be stitched. You may wish to use a very small amount of embroidery spray adhesive to attach it to the location.
Stitch the underlay, or the first layer of satin stitches. After it is complete, gently pull away the foam. Stitch again over the area with the final layer, which will encase the foam inside.
Tip: To remove any remaining hairy bits, place a pressing cloth over the area and press lightly with a hand iron. The small foam bits will shrink up and disappear.
Copyright (C)2002 - 2016,Love Embroidery Digitizing, All rights reserved.